Last Updated on 28/12/2023 by Manolis Maragkoudakis
How To Create 360 Virtual Tour?

Introduction to 360 virtual tours
In today’s digital age, virtual tours have become an essential tool for businesses and individuals alike. With the ability to transport viewers to any location in the world, 360 virtual tours provide an immersive and interactive experience that traditional photographs or videos simply can’t match.
Whether you’re a real estate agent looking to showcase properties or a travel enthusiast wanting to share your adventures, understanding how to create a 360 virtual tour is crucial. In this comprehensive tutorial, we will explore the benefits of using 360 virtual tours, provide a step-by-step guide on creating them, offer tips for capturing high-quality tours, and discuss hosting and integrating them into your website or platform.
Benefits of using 360 virtual tours
The benefits of using 360 virtual tours are numerous and varied. Firstly, they offer a unique and engaging way to showcase your products, services, or locations. By allowing viewers to explore and interact with the virtual environment, you can provide a more immersive experience that captures their attention and increases their understanding of what you have to offer.
Secondly, 360 virtual tours can save both time and money. Instead of physically visiting a location, potential customers can take a virtual tour from the comfort of their own homes. This not only eliminates the need for travel but also allows viewers to explore at their own pace and convenience.
Furthermore, 360 virtual tours can help build trust and credibility. By providing an accurate representation of your location or product, you can instill confidence in your audience. They can see for themselves what you have to offer, leading to increased trust and a higher likelihood of making a purchase or engaging with your services.
Step-by-step guide on creating a 360 virtual tour
Now that we understand the benefits of using 360 virtual tours, let’s dive into the step-by-step process of creating one.
Step 1: Plan your tour
Before you start capturing your virtual tour, it’s essential to plan out the locations you want to include and the path that viewers will take. Consider the key features or points of interest you want to highlight and how they will flow together. This will help ensure a smooth and coherent tour that guides viewers through the experience seamlessly.
Step 2: Choose the right equipment
To capture a 360 virtual tour, you’ll need specialized equipment. The most common option is a 360-degree camera, which allows you to capture the entire surrounding environment in a single shot. There are many options available on the market, ranging from budget-friendly to professional-grade cameras. Do your research and choose the one that suits your needs and budget.
Step 3: Capture your images
Once you have your equipment, it’s time to start capturing your images. Set up your camera in the desired location and make sure it’s level and stable. Take multiple shots from different angles to ensure you capture the entire environment. Pay attention to lighting conditions and ensure consistent exposure throughout the tour.
Step 4: Stitch your images together
After capturing your images, you’ll need to stitch them together to create a seamless 360-degree view. There are various software options available for this purpose, both free and paid. Choose the one that suits your needs and follow the instructions to stitch your images together. This process may take some time, depending on the number of images and the complexity of the tour.
Step 5: Add interactive elements
To enhance the viewer’s experience, consider adding interactive elements to your tour. This could include hotspots that provide additional information or links to related content. You can also include navigation buttons that allow viewers to move from one location to another. These interactive elements add depth and engagement to your tour, making it more memorable and informative.
Step 6: Test and refine your tour
Before sharing your tour with the world, it’s essential to test it thoroughly and make any necessary refinements. Take the time to navigate through the tour yourself and ensure that everything works as intended. Test it on different devices and platforms to ensure compatibility. Pay attention to details such as load times and image quality to provide the best possible experience for your viewers.
Choosing the right equipment for capturing 360 virtual tours
When it comes to capturing 360 virtual tours, choosing the right equipment is crucial. The quality of your equipment will directly impact the quality of your tours, so it’s essential to invest in the best tools you can afford.
Camera options
There are several camera options available for capturing 360 virtual tours. The two most common types are dedicated 360-degree cameras and DSLR cameras with fisheye lenses. Dedicated 360-degree cameras are designed specifically for capturing immersive images and videos, while DSLR cameras with fisheye lenses offer more flexibility and control.
Considerations for choosing a camera
When choosing a camera, there are several factors to consider. Firstly, consider the resolution and image quality. Higher resolution cameras will produce sharper and more detailed images, but they may also come with a higher price tag. Secondly, consider the ease of use and portability.
If you plan on capturing tours in various locations, a lightweight and compact camera may be more suitable. Lastly, consider the compatibility with stitching software. Some cameras come with built-in stitching capabilities, while others require external software for stitching.
Additional equipment
In addition to a camera, there are a few other pieces of equipment you may need for capturing 360 virtual tours. A sturdy tripod is essential for keeping your camera stable and level during the capture process. A remote trigger or intervalometer can also be helpful for taking multiple shots without physically touching the camera. Lastly, consider investing in a quality storage solution, such as high-capacity memory cards or external hard drives, to ensure you have enough space to store your images.
Tips for capturing high-quality 360 virtual tours
Capturing high-quality 360 virtual tours requires attention to detail and careful planning. Here are some tips to help you achieve the best possible results:
Lighting
Pay attention to lighting conditions when capturing your tours. Ideally, you want even and consistent lighting throughout the entire tour. Avoid shooting in harsh sunlight or low-light conditions, as this can result in overexposed or underexposed areas. If shooting indoors, consider using additional lighting sources to ensure proper illumination.
Composition
Composition is just as important in 360 virtual tours as it is in traditional photography. Pay attention to the placement of objects and points of interest within the frame. Consider leading lines and visual flow to guide the viewer’s eye through the tour. Experiment with different angles and perspectives to create dynamic and engaging compositions.
Movement
While it may be tempting to capture every inch of a location, it’s essential to be selective and intentional with your movement. Rapid and erratic movement can disorient viewers and detract from the overall experience. Instead, move slowly and smoothly, focusing on capturing key areas and points of interest. This will ensure a more enjoyable and coherent viewing experience.
Post-processing
Once you’ve captured your images, post-processing can help enhance the overall quality of your tour. Use editing software to adjust exposure, color balance, and sharpness. Be careful not to over-process your images, as this can result in an unnatural and unappealing look. Aim for a balance between realism and enhancement, ensuring that your tour accurately represents the location or product.
Editing and enhancing your 360 virtual tours
Once you have captured your 360 virtual tours, it’s time to edit and enhance them to create a polished and professional final product. Editing your tours involves several steps, including stitching your images together, adjusting exposure and color balance, and adding interactive elements. Let’s explore each of these steps in more detail.
Stitching
Stitching is the process of combining multiple images into a single 360-degree view. There are various software options available for stitching, ranging from free to paid. The software will analyze the images and align them to create a seamless panoramic view. Follow the instructions provided by the software to ensure a successful stitching process.
Exposure and color adjustments
Once your images are stitched together, you may need to make adjustments to exposure and color balance. This is particularly important if you captured your images in different lighting conditions. Use editing software to fine-tune these settings, ensuring that the tour has a consistent and balanced look.
Interactive elements
To enhance the viewer’s experience, consider adding interactive elements to your tour. This could include hotspots that provide additional information or links to related content. You can also include navigation buttons that allow viewers to move from one location to another. These interactive elements add depth and engagement to your tour, making it more memorable and informative.
Quality control
Before finalizing your edits, it’s essential to perform a thorough quality control check. Take the time to navigate through the tour yourself and ensure that everything works as intended. Test it on different devices and platforms to ensure compatibility. Pay attention to details such as load times and image quality to provide the best possible experience for your viewers.
Hosting and sharing your 360 virtual tours
Once you have created and edited your 360 virtual tours, it’s time to host and share them with your audience. There are several options available for hosting and sharing, depending on your needs and preferences.
Self-hosting
If you have your own website or platform, you can choose to self-host your 360 virtual tours. This gives you full control over the hosting and allows you to integrate the tours seamlessly into your existing website or platform. However, self-hosting requires technical knowledge and resources to ensure optimal performance and compatibility.
Third-party hosting platforms
Alternatively, you can choose to host your 360 virtual tours on third-party platforms specifically designed for this purpose. These platforms offer easy-to-use interfaces and provide hosting and sharing capabilities. Some popular options include Kuula, Roundme, and Matterport. Research different platforms and choose the one that best fits your needs and budget.
Sharing options
Once your tours are hosted, it’s time to share them with your audience. Share the tours on your website, blog, or social media platforms to reach a wider audience. Consider embedding the tours directly into your website or platform for a seamless viewing experience. You can also share the tours via email or messaging apps to provide a more personalized experience.
Integrating 360 virtual tours into your website or platform
Integrating 360 virtual tours into your website or platform can provide a unique and engaging experience for your visitors. Here are some tips for seamless integration:
Design considerations
When integrating 360 virtual tours into your website or platform, consider the overall design and layout. Ensure that the tours fit seamlessly into the existing aesthetic and navigation structure. Pay attention to color schemes, fonts, and visual elements to create a cohesive and enjoyable user experience.
Navigation
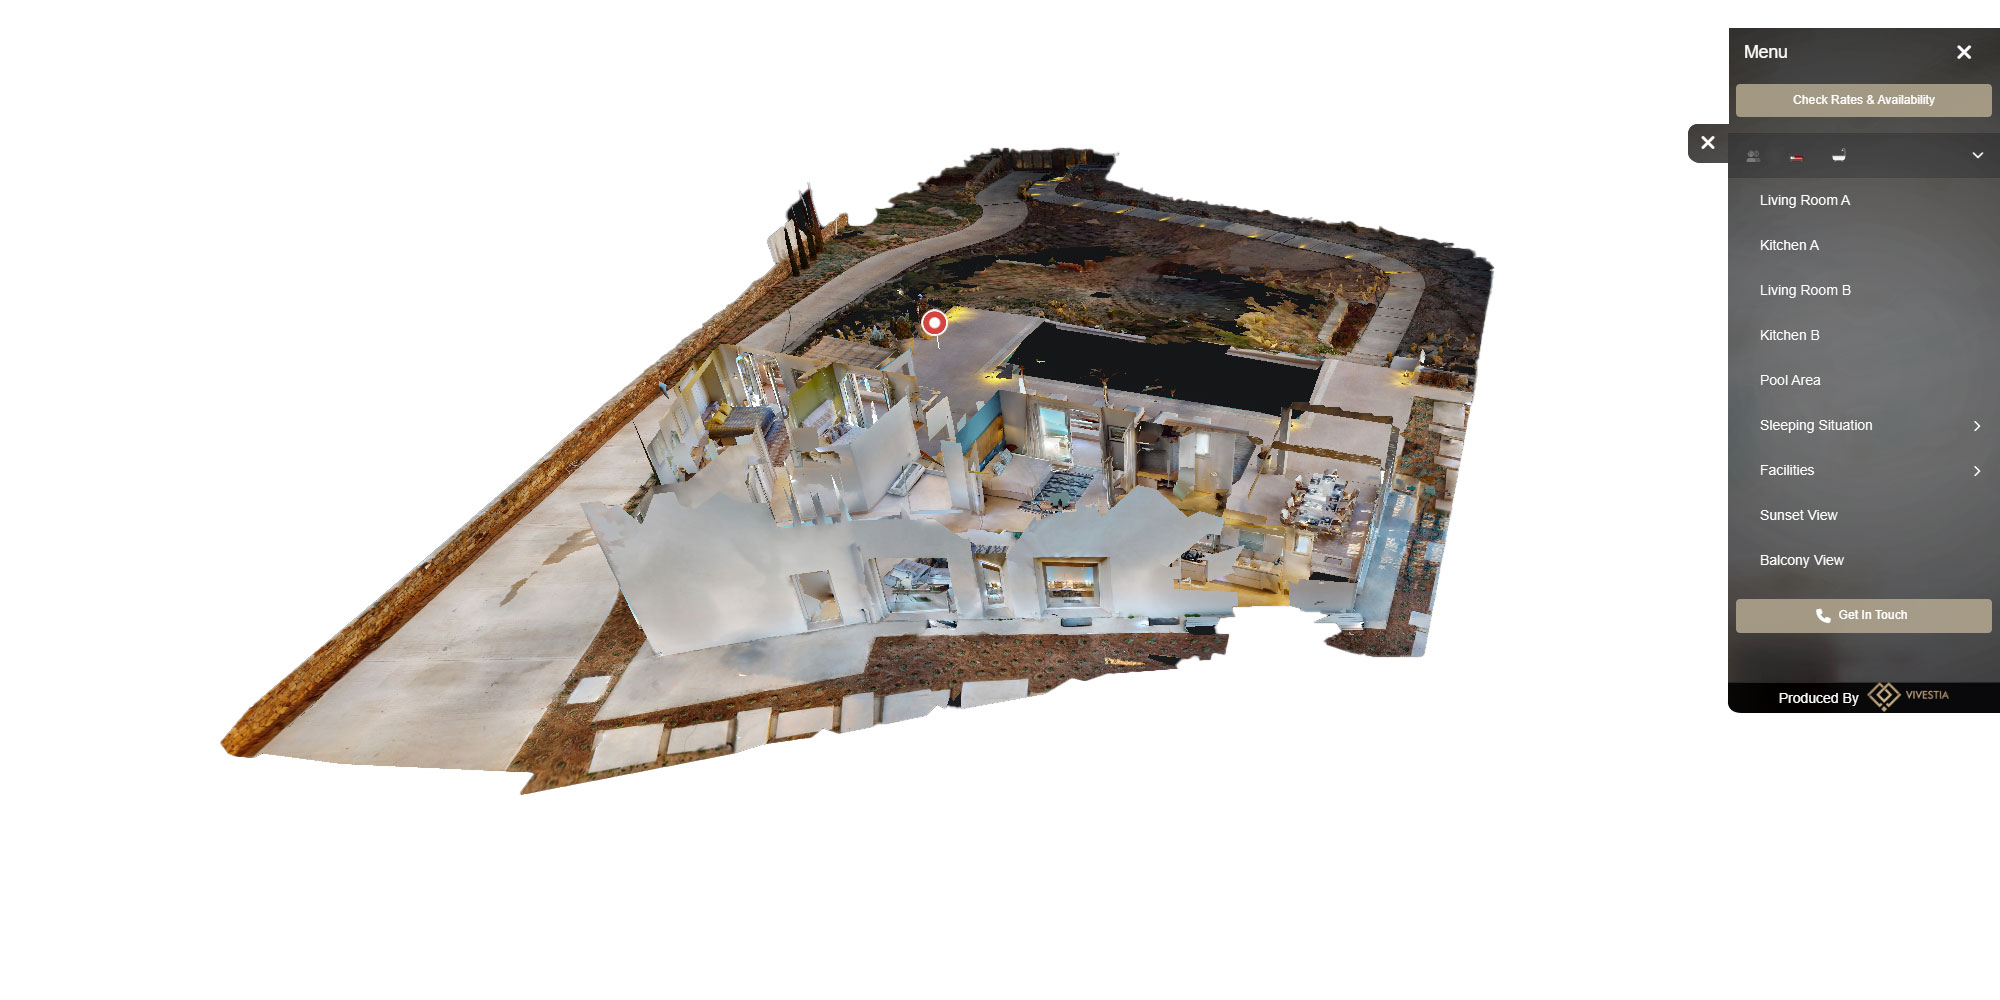
Provide intuitive and user-friendly navigation options within your tours. Include buttons or hotspots that allow viewers to move from one location to another. Consider adding a map or floor plan that highlights the different areas or points of interest. This will help viewers navigate through the tour and explore at their own pace.
Mobile optimization
With the increasing use of mobile devices, it’s essential to optimize your 360 virtual tours for mobile viewing. Ensure that the tours load quickly and are compatible with different screen sizes and orientations. Consider using responsive design techniques to provide the best possible viewing experience across all devices.
Analytics and tracking
To measure the success and impact of your 360 virtual tours, consider integrating analytics and tracking tools. These tools can provide valuable insights into viewer behavior, such as the number of views, time spent, and interactions within the tours. Use this data to refine and improve your tours for maximum engagement and effectiveness.
Conclusion and future trends in 360 virtual tours
360 virtual tours have revolutionized the way we experience and interact with digital content. Whether for business or personal use, they offer a unique and immersive experience that traditional photographs or videos cannot match. By following this comprehensive tutorial, you now have the knowledge and tools to create stunning 360 virtual tours that captivate your audience.
As technology continues to advance, we can expect to see even more exciting developments in the world of 360 virtual tours. From advancements in camera technology to more sophisticated editing and interactive capabilities, the future looks promising. So, embrace the potential of 360 virtual tours and unlock a world of possibilities for your business or personal ventures.


Post Discussion